Posted February 5, 2021
To access your pages, click on ‘Pages’ in the menu on the lefthand bar in the WordPress admin. Then either click ‘Add New’ on the top or click on a page that has already been created to edit it.
There is no limit on how many pages can be created in WordPress.
Page Fields

The first and primary field is the default text editor. Here is where you add the main page content. You can add images, links, lists, buttons, etc. To see the full capabilities of this editor, visit the WYSIWYG post.
Next is the Featured Image.
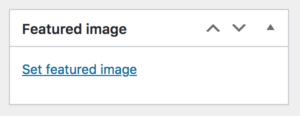
This field is found in the right sidebar when editing a page. This image is pulled in as the hero image on the individual page.
Reminder: the hero is the section at the top of each page that contains the page title and featured image.
You can adjust hero alignment and height in the Customizer.
Below the text editor is a Page section that contains two tabs: Hero and Sidebar.
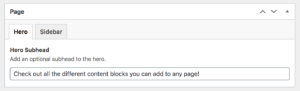
On the Hero tab, the Hero Subhead text field is the input that appears under the page title in the hero of that page.
The sidebar tab has the option to Override Default Page Sidebar Callouts. This field can override the default callout settings that are set site-wide in Options. You can learn more about this field in the Callouts post.
The last section is Content Blocks. You can add any of the 16 content blocks that StageHand offers to any page. In-page navigation to these blocks can be added using the ‘Nav Title’ fields for content blocks. To learn more about content blocks visit this post or view examples of them here.
NOTE: You can change the post’s URL by editing the permalink right below the post title at the top of the page.
Setting Parent/Child Pages
Pages can be hierarchical which means a page can have sub-pages. This is referred to as parent pages and child pages. For example, a parent page titled “About” can have a sub-page called “Our History.”
When you create a child page, this means a few things:
- The child page will appear nested under the designated parent page in fields on the backend.
- The permalink of the child page will reflect the hierarchy with the parent added into the URL path. (i.e. http://example.com/parent/child-page/)
- Child pages will be listed in a sidebar navigation for the set parent page and all of its child pages, as seen in the screenshot here.

NOTE: this does not automatically add the child pages to the subnavigation in the main menu. The menus must be edited separately. Read more about that here.
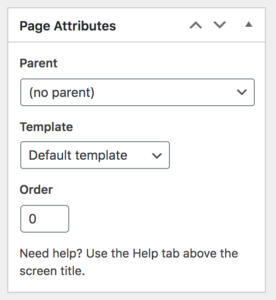 To set a page as a child page, go to the Page Attributes section in the righthand sidebar.
Click the Parent dropdown — this contains a complete list of all published pages on your site. Select the appropriate parent page for the current page to be a child page of.
In the sidebar navigation, the child pages automatically appear in the order that you set them as child pages chronologically. You can update this order manually through the Order field on each page.
Click ‘Publish’ or ‘Save Draft’ when done.
Publishing Pages
When creating a page (or post), you have the option to save it as a draft or publish it. At the top of the righthand sidebar, the Publish section allows you to save drafts, preview, delete, publish, or schedule pages.
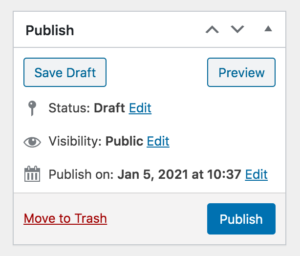
To schedule a page you can change the ‘Publish on:’ date and time to a future date and a ‘Schedule’ button will appear.
If you accidentally publish a page, don’t worry! You can change it back to a draft by editing the ‘Status:’ field. Also after a page is published, you can edit the published date as needed.
NOTE: The ‘Preview’ button doesn’t show all changes to content blocks unless that version is saved, either by ‘Save Draft’ or publishing.
Password Protection
You can add password protection to any published page. This is commonly used for pages with content that should only be accessible to board members, volunteers, members, or another defined group of people.
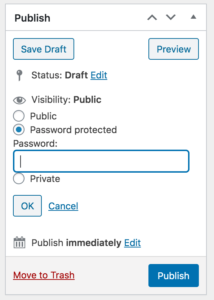
To set password protection, go to the Publish section in the right sidebar. Click ‘Edit’ next to the Visibility field with the eye icon. Select ‘Password protected’. In the Password text box, type the desired page password. (There is a 20 character limit.) Click ‘OK’, and then click ‘Publish’.
Selecting ‘Password protected’ activates a text field for entering a password that will be required to view that post. View our sample password protected page here — use password ‘DoGoodWork’ to reveal the content.
For this field, Public is selected by default. Checking Private makes your page visible only to your site’s users with the role of Administrator or Editor — when they are logged in.
Video tutorial to come.