Posted January 29, 2021
The media library stores all images and files on your site.
Accessing the Media Library
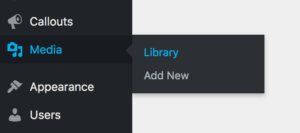
Navigate to MEDIA > LIBRARY in the menu on the lefthand bar in the WordPress admin.
This takes you to the full media library page with the option of viewing all files in a grid view (such as in the screenshot below) or a list view.
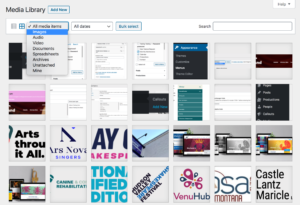
Here you have the ability to search for a file name, filter by file type, or filter by upload date to find specific files.
You can add images individually or in bulk. Click ‘Add New’ at the top to select a single file or to drag and drop as many files as you would like from your computer to your site. This bulk add feature is great for initial population of your website.
Single File Mode
Click on any image to view the image detail box.
Here you will find the fields for alternative text, title, caption, description, file URL, and more. This is also where you can edit the image.
We recommend adding a title that will your team search for it in the future.
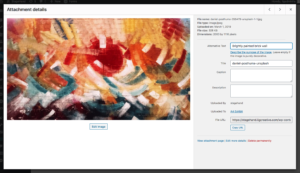
An important field here is the Alternative Text. Al Text is the written copy that appears in place of an image on a webpage if the image fails to load AND is pulled in by screen-reading tools to describe images to readers that have visual impairments AND allows search engines to better crawl and rank your website. We recommend that all of our clients use this field for the highest accessibility.
This is also where you add captions for images that are pulled into the gallery and large image content blocks.
Adding an Image Through a Field
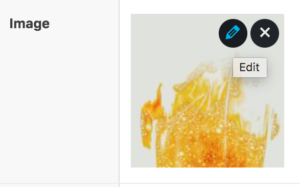
You can also access the media library through image fields on various Content Blocks you add throughout your pages and posts. Image fields (seen in these screenshots) will have an ‘Add Image’ button that allows you to either upload an image directly or select an image from the media library.

Any new file that you upload through this method will be added to the media library.
No matter where you upload an image on the site, it will always be added to the library.
Once an image is uploaded to a field, hover over the image and click the edit icon. This opens a box to edit the image details so that you don’t have to navigate to the media library. All field updates made here will save in the media library and across the site.
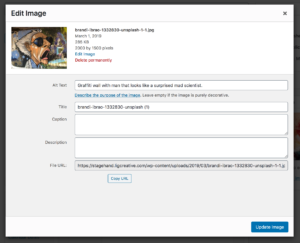
Image Sizes
Note that depending on where images are being used on a site, there are minimum dimensions that need to be hit in order for them to appear properly. If the uploaded image does not meet the cropped dimensions below, it may look pixelated or crop strangely. NOTE: the crop only occurs if the image size is LARGER than the dimensions listed below.
- Hero (Homepage, Productions/Schools, and Pages) — 1440 x 800px
- Column Blocks — 720 x 400px
- Posts – 1440 x 800px
- Bio — 260 x 260px
- Testimonial (attribution photo) – 80 x 80px
- Testimonial (background photo) – 1440 x 800px
- Image Gallery — 720 x 400px
- Large Image – 1440 x 800px
