Posted March 8, 2021
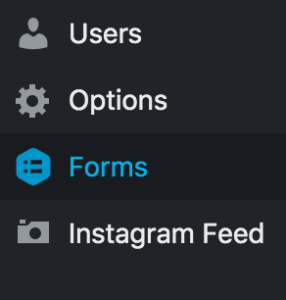
We included a plugin called Gravity Forms on all StageHand sites. You can create and edit forms through this in the WordPress admin. Click ‘Forms’ in the lefthand navigation.
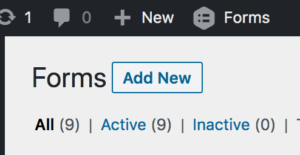
From there, click ‘Add New’ on the top.
You’ll be prompted to add a Form Title and Form Description (optional). These are for internal use and will not display on the frontend.
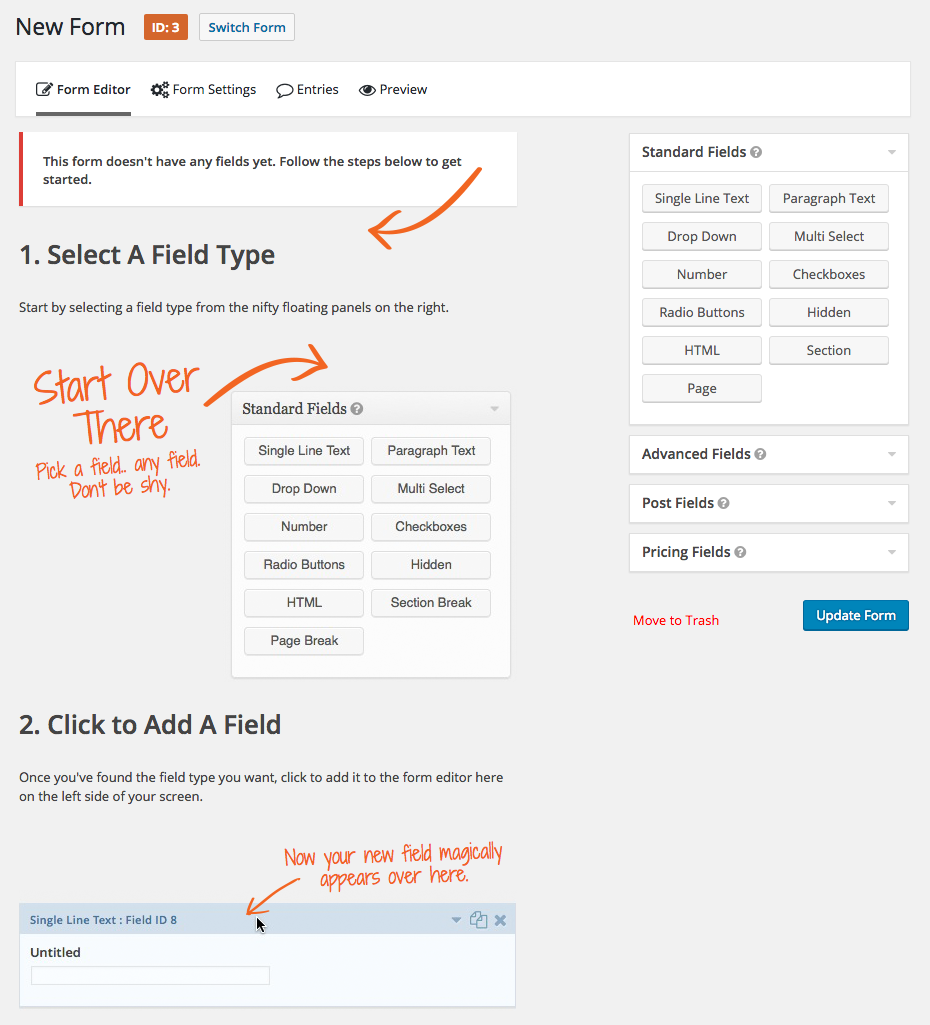
Once a new form is created, you’ll go directly to the form builder. The form builder allows you to visually create form fields and manage every aspect of how your form will act on both the frontend and admin of your WordPress site.
Adding form fields
To add a field in the form builder, just simply double click it in the listing on the right or drag it to the form builder on the left. You can add as many fields as needed. These include a wide range of field option including: Name, Email, Single Line Text, File Upload, Checkboxes, etc. Expand the ‘Standard Fields’, ‘Advanced Fields’, and other sections on the right to view all field options.
Once a field is added to your form, hover or click on a field in the Editor to access all options and settings for the field in the Field Toolbar.
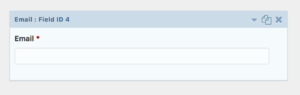
On the blue field header bar, there are a few pieces of information including the Field Type and the Field ID. On the right side, there are three actions:
- Edit/Close: Click the ‘Edit’ link/arrow to open up the full field options. If the field is currently selected, this button becomes the ‘Close’ button.
- Duplicate: Click this icon to duplicate the current field preserving all of the field options in the new field. The duplicated field will display directly below the original.
- Delete: The ‘X’ will delete the field from the form. Note: deleting a field also deletes all of this field data on entries that have already been collected.
Visit this page for a full list of Gravity Form fields and further details on setting up fields.
The options and details vary depending on the specific field types. All fields have a checkbox to make them required (on the General tab) as well as the option to conditionally show them based on other field values (on the Advanced tab).
NOTE: The ‘Enable Conditional Logic’ option in the field settings allows you to create rules to dynamically display or hide the field based on values from another field. In order to use conditional logic, you will need to add a field to your form which supports conditional logic. Learn more here.
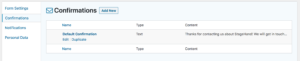
Editing or creating a confirmation
After submitting the form, a user is presented with a message or directed to a new page. By default this is a simple message stating that the form has been successfully submitted and thanking. You can edit this to be whatever message you prefer.
To edit the confirmation message, go to ‘Settings’ for the form and click ‘Confirmations’. Here you can select if to have a message displayed or to redirect them to a page. The message can be edited in the full text editor here.
To learn more about adding and configuring confirmations, visit this article. You have the capability to create custom confirmation messages based on the content submitted.
Creating a notification
After creating your form, you can customize the notifications for form submissions to the user and/or to your team.
It is helpful for your team to receive a notification when a user submits the form successfully. All entries are stored on the WP Admin, which you can access at any time. However, setting up notifications ensures you do not have to constantly check to see if anything has been submitted. You can have multiple notifications for a single form and even for a single submission.
To edit the notifications, go to ‘Settings’ for the form and click ‘Notifications’. The default Admin notification sends a message with all completed form fields to the Admin email for each entry. You can edit the email subject line, the ‘From Email’ (the sender), the ‘To Email’ (who receives the notifications), the message included.
You can also create a notification that sends to the user with their full submitted form.
To dig in further, find detailed instructions on setting up form notifications here.

Viewing form entries
There is an Entries tab at the top of your form. The Entries list page allows you to browse all entries generated by form submissions. From this screen you can browse, sort, and modify your entry with a variety of options.
For more information on the Entries page, visit this page.
Integrating with email marketing services
Gravity Forms has add-ons for integration with a large number of email marketing services including MailChimp, Constant Contact, Authorize.net, SendGrid and more. If you are interested in connecting an account, please reach out to the Ligature team.
Adding a form to a page
To add your form to a page, visit our post on the Form Content Block.